
Introduction
Most comic ideas start the same way: a scene in your head, a character you can't stop thinking about, a story you have been meaning to tell. A comic book template gives you a framework to get started: it organises your panels, guides your pacing and sets up your pages for professional printing before you draw a single line. This guide explains how to choose the right template for your project, how to prepare your files and how to order your finished comic through Mixam's comic book printing service.
What is a comic book template?
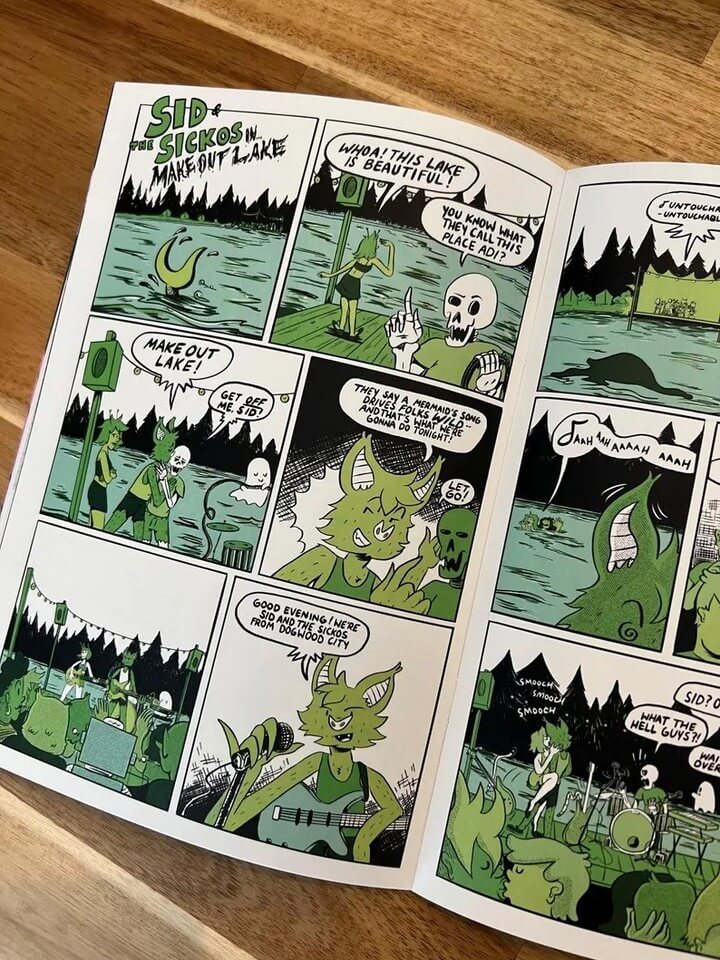
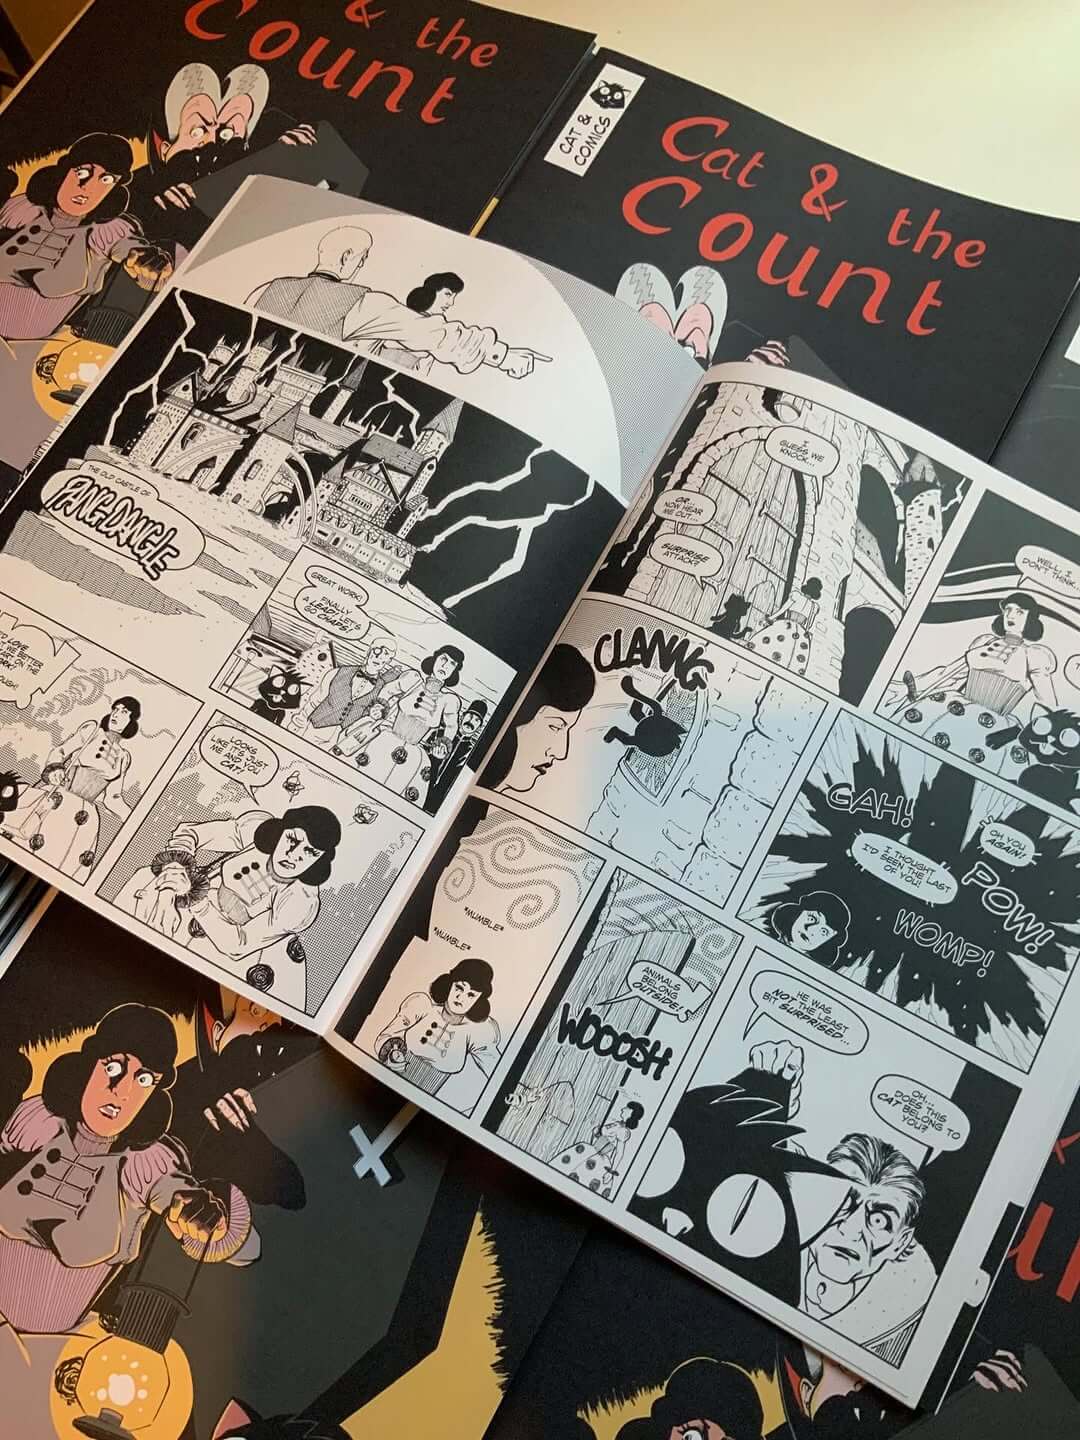
A comic book template is a structured page or digital file that defines key elements such as artwork and dialogue. It sets out the panels (the individual frames that contain your art), the gutters (the white space between panels), caption boxes, speech bubble placement areas and the page boundaries, including printing guidelines like bleed and quiet areas. Templates can be as simple as a grid of equal-sized panels or as specific as a multi-column layout with staggered frames designed to control the pace and drama of a scene.
Why use a comic book template?
Whether you are working on a single-page project or a multi-chapter story, a comic book template makes the process more efficient and significantly easier to prepare for print. Here is why:
- Reduces blank-page overwhelm: Starting with a defined layout means you can focus on your story.
- Supports story pacing: Panel size affects how readers experience the story. For example, larger panels can slow a story down while smaller panels increase pace and tension.
- Keeps reading order clear: Especially important for multi-page stories where the eye needs to flow naturally across and down each page.
- Prevents artwork from getting cut: A comic book template includes quiet areas (the edge of the printed page inside the trim line), which prevent important elements from falling too close to the trim edge.
- Improves consistency: When you work across many pages, a template keeps margins, panel sizes and gutters consistent throughout.
- Helps with print preparation: Templates built for print already include printing guidelines and correct page dimensions, so you minimise errors when uploading files.
For a broader look at the comic book printing process, read our guide on how to make a comic book.
Comic Book Template vs Comic Strip Template
A comic book template and a comic strip format serve very different purposes. Knowing which one fits your project will save you time and help you make an informed choice.
| Feature | Comic Book Template | Comic Strip Template |
| Length | Multi-page stories | Short, often 1 page |
| Use | Graphic novels, comic books and zines | Informal projects such as single-scene stories or newspaper strips |
| Panel count | 6-9 panels per page or more | Usually 3-6 panels total |
If your story runs across multiple pages and you plan to print it as a booklet, you need a comic book template. If you are creating a short strip for an informal project such as single scenes or newspaper strips, a comic strip template is the more effective option.
Our guide on how to write a comic book is a good place to map out your story before you start laying out pages.
Planning Your Story Before Using a Comic Book Template
Before you open a comic book template, it helps to have a rough sense of your story. A template organises your pages, but it works best when you already know what those pages need to carry.
- Start with one clear idea: a character, a moment or a conflict worth telling
- Define your story's core: who is the main character, where is the story set, what is the conflict and how does it end
- Break the story into scenes: decide roughly how many panels each moment needs
- Sketch loose thumbnails: even rough boxes on paper help before committing to a final layout
- Plan your dialogue and captions early: this will help you know how much space to leave inside each panel
- Check your reading order: this matters especially at page turns and before finalising pages
For longer comics, think in terms of a story arc: setup, rising tension, climax, resolution. Mapping your page count can also help you identify phases in your story before you start laying out panels. If you are still developing your visual approach, our guide on how to draw a comic book is worth reading before you begin.
How to Choose the Right Comic Book Template
The right layout depends on your story length, your intended print size and how you want the reader to experience each page. Here are some useful tips to help you select the right comic book template for you:
Match the Template to Your Story Length
Short stories of eight to twelve pages suit simple, consistent panel grids, while longer projects benefit from mixed layouts. You might use a six-panel grid for dialogue-heavy scenes and switch to full-page or two-panel spreads for action sequences or key story moments. Your template should also match the page dimensions of your intended print format. You can download a template sized exactly to your chosen specifications from the Instant Quote Calculator.
Think About Panel Count and Pacing
- Use 1–2 large panels per page for dramatic moments or establishing shots
- Use a 6-panel grid for dialogue scenes
- Use a 9-panel grid for dense, fast-paced sequences or to create a sense of chaos and speed
-
Use full-page splash panels sparingly, as they are best saved for reveals or major turning points
Leave Room for Speech Bubbles
One common mistake is choosing panels that are too small once speech bubbles and caption boxes are added. A template should give your artwork and your words enough breathing room to coexist without one crowding the other. If you’re unsure, aim for fewer panels with more space.
If you are still working out your story, our comic book ideas guide can help you kickstart the creative process.
How to Prepare a Comic Book Template for Print
Once your story is laid out, a few technical steps will make sure your files are ready for printing:
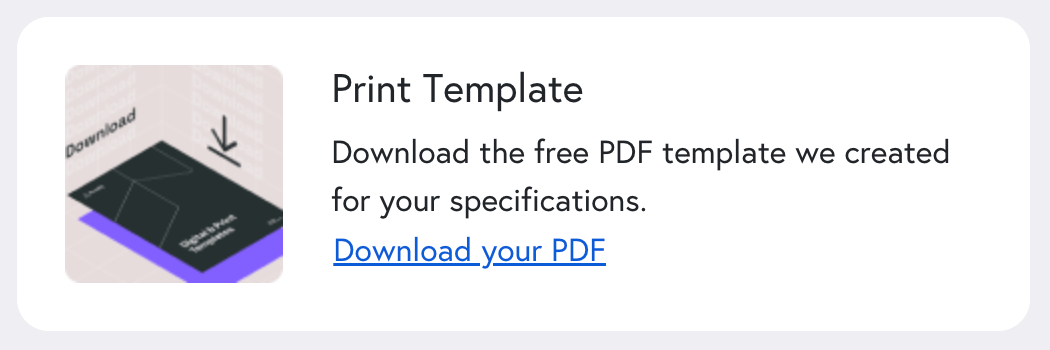
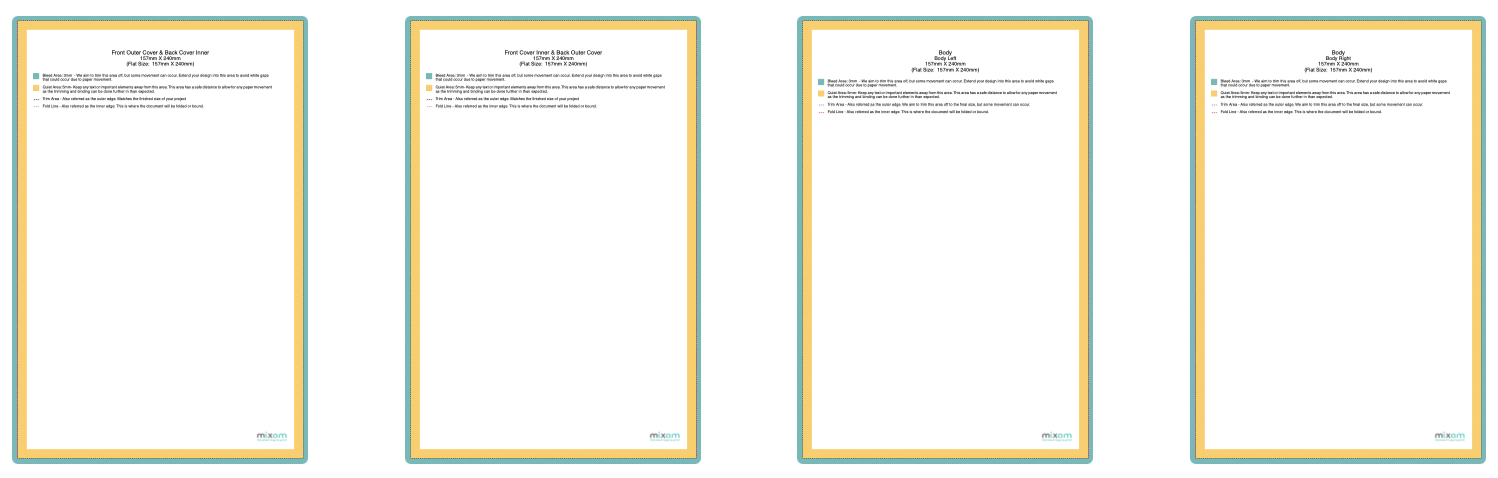
- Download a print-ready comic book template for layout purposes from the Instant Quote Calculator after selecting your print specifications, such as size and format. You can use it as an underlay in your preferred design program to help you position your content within defined print guidelines. When it’s time to upload your files, simply remove the template before exporting.
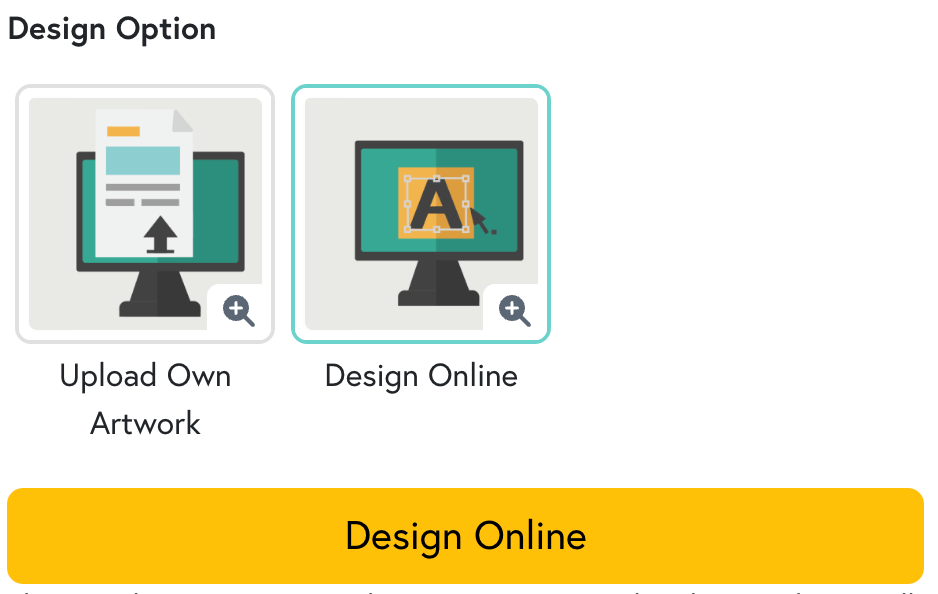
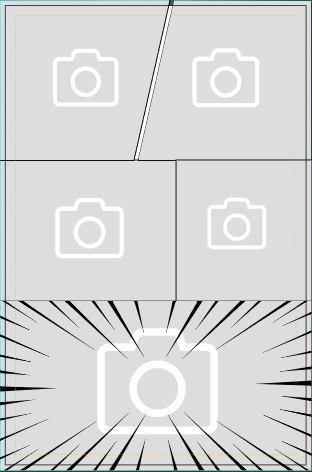
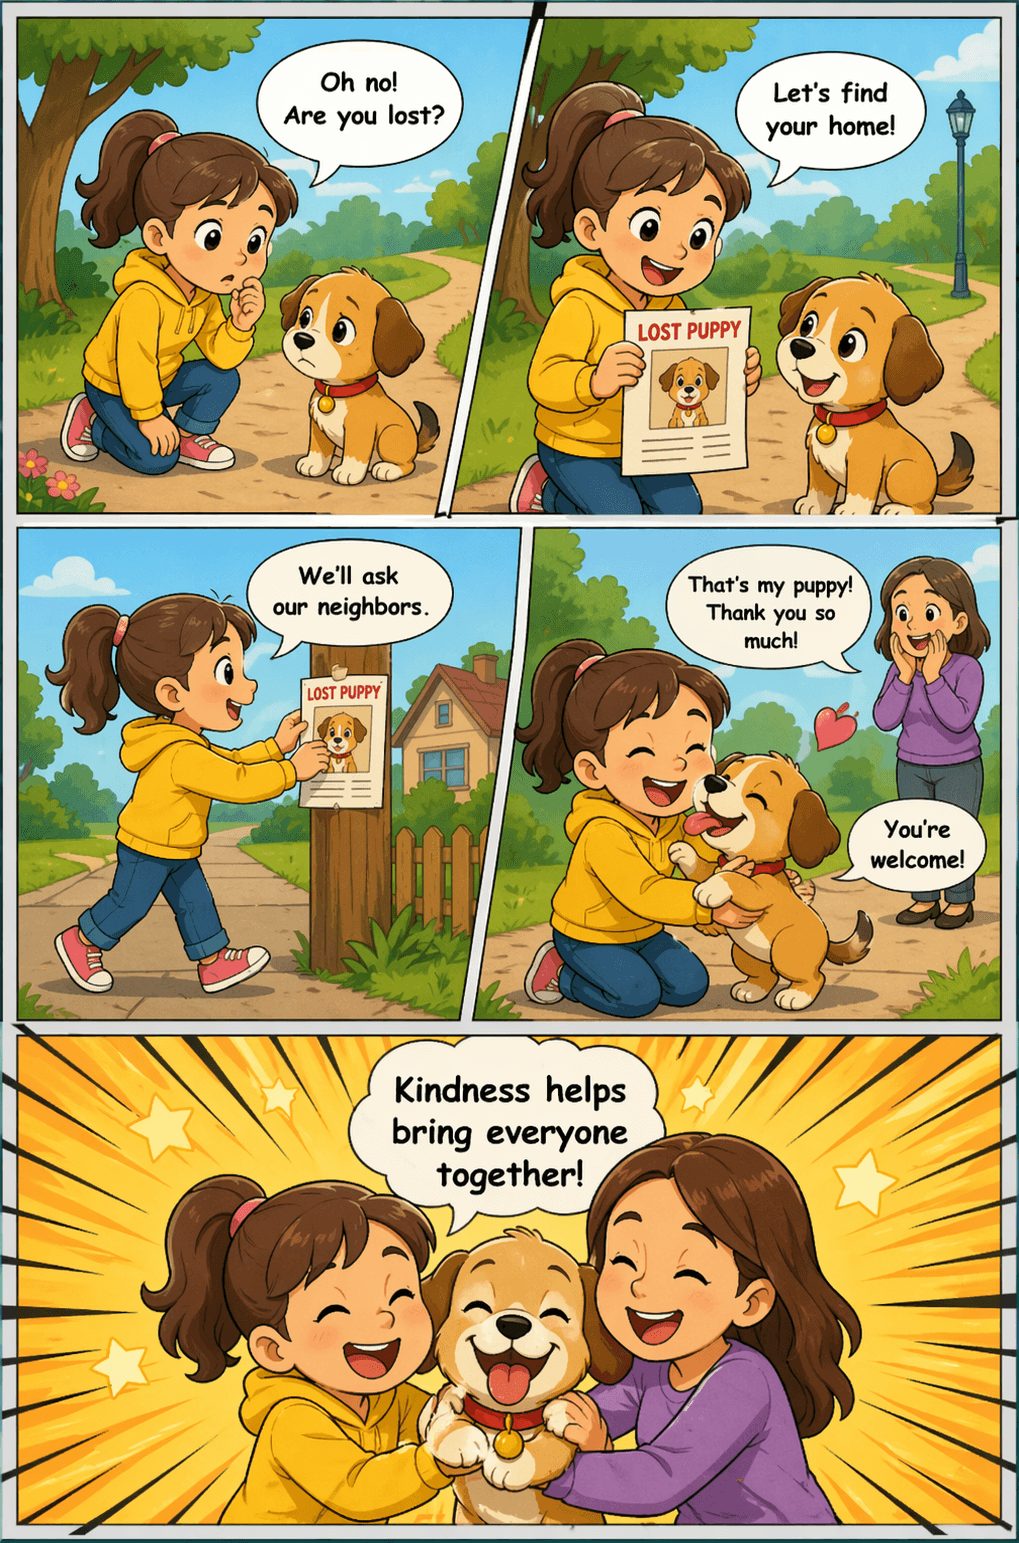
- Use Mixam's Design Online tool to create files directly in your browser from scratch using a comic book template of your choice. Once you’ve chosen your specifications on our comic book printing page, select the ‘Design Online’ option on the Instant Quote Calculator to launch the editor. Then select the ‘Layouts’ on the left-hand toolbar (second icon from the top) and click on a spread or inner page to insert a layout in which you can either upload or generate images.
Pre-Print Checklist
Before exporting your files, run through this checklist to make sure everything is print-ready:
- When designing your own files, ensure your canvas size matches the size and orientation you select in the Instant Quote Calculator.
- Add 3mm bleed to all artwork files to prevent white edges during the trimming process. Read our guide on what is bleed in printing for a full explanation.
- Keep all dialogue and important artwork inside the quiet area, away from the trim edges.
- Ensure all files are set to 300 dpi to avoid blurriness in print. Our DPI for printing guide explains the importance of image resolution and its impact on print.
- Export your comic book cover files as a spread - one PDF file containing the back cover (left), spine (middle), and front cover (right). For interior pages, you can export them as single pages.
- Number your files so they upload in the correct chronological order in the Artwork tab.
After you’ve uploaded your files and all artwork thumbnails are filled, download your print preview and review it in Adobe Acrobat Reader to give you an accurate representation of how your files can look in print.
How to Print Your Comic Book with Mixam
Once your files are ready, printing your comic with Mixam is straightforward. Here is how it works from start to finish:
Step 1: Choose your specifications: Head to our comic book printing page and select your specifications including size, page count and cover finish. We’ll only provide the most affordable and high-quality options based on your selection.
Step 2: Download your template: Once you have chosen your specifications in the Instant Quote Calculator, download the corresponding comic book template to help you lay out your design. This file is sized correctly for your chosen format and includes all bleed and margin guides. Alternatively, select the Design Online option to create a comic book with pre-made layouts.
Step 3: Upload your artwork: If you use a downloadable template to create your artwork, remove the template before exporting. In your order’s Artwork tab, you can simply drag and drop your completed files. You can also upload files from your desktop, from cloud platforms like Dropbox or WeTransfer, or directly from a web URL.
Step 4: Review file warnings: Our system will automatically check your files and flag potential print issues such as low resolution, missing bleed or incorrect dimensions. At this point, you can replace the files with the corrected versions, or contact the Mixam team if you need guidance or want to proceed without making additional changes.
Step 5: Review your proof before confirming: Before you confirm any print order, it is good practice to review your pages in sequence and check that content appears exactly as intended. With Mixam, once all artwork thumbnails in the Artwork tab are filled, you can access both a flipbook preview and a downloadable proof. Use the downloadable proof in particular to check page order, panel layout and content positioning. It gives you the most accurate representation of how your files will look in print.
Step 6: Confirm your order: When you are satisfied with your proof, complete your billing and delivery details and confirm your order at the top of the page. At Mixam, a print expert reviews every order before it goes into production, giving you an additional layer of quality assurance before printing begins.
For a deeper dive into comic book creation, our guide on how to publish a comic book covers distribution, pricing and self-publishing options.
Frequently Asked Questions
What should a comic book template include?
A comic book template should include clearly defined panels, gutters (the space between panels), caption box areas, speech bubble zones and page boundary guides. For print, it should also include a bleed area (3mm beyond the trim line) and a quiet area that keeps important artwork and text away from the trim line. Templates designed for print layout, like those available from Mixam's comic book printing page, include all of these by default.
What size should a comic book template be?
The most common size for a comic book template includes UK Standard (157mm x 240mm). Other popular sizes often use A4 or A5. When printing with Mixam, you can download a correctly sized template directly from the quote calculator after selecting your preferred dimensions.
How many panels should a comic page have?
There is no single rule, but six panels per page is a common starting point. Fewer panels (one to three) work well for impactful moments and establishing shots. More panels (eight or nine) create a faster pace and are useful for action or rapid dialogue exchanges. The best number depends on what your story needs on any given page - your comic book template should support that.
Print With a Comic Book Template Today
A comic book template is one of the most practical tools you can use to structure your story, pace your scenes, manage your page layouts and prepare your artwork for print. Starting with the right template can accelerate the design process and make your files technically sound before upload.
Visit Mixam's comic book printing page to get a quote in seconds, download a free template and upload your artwork. You can also download our Book Printing Guide to learn the essentials of professional book production.
Main Image Credit: Pexels